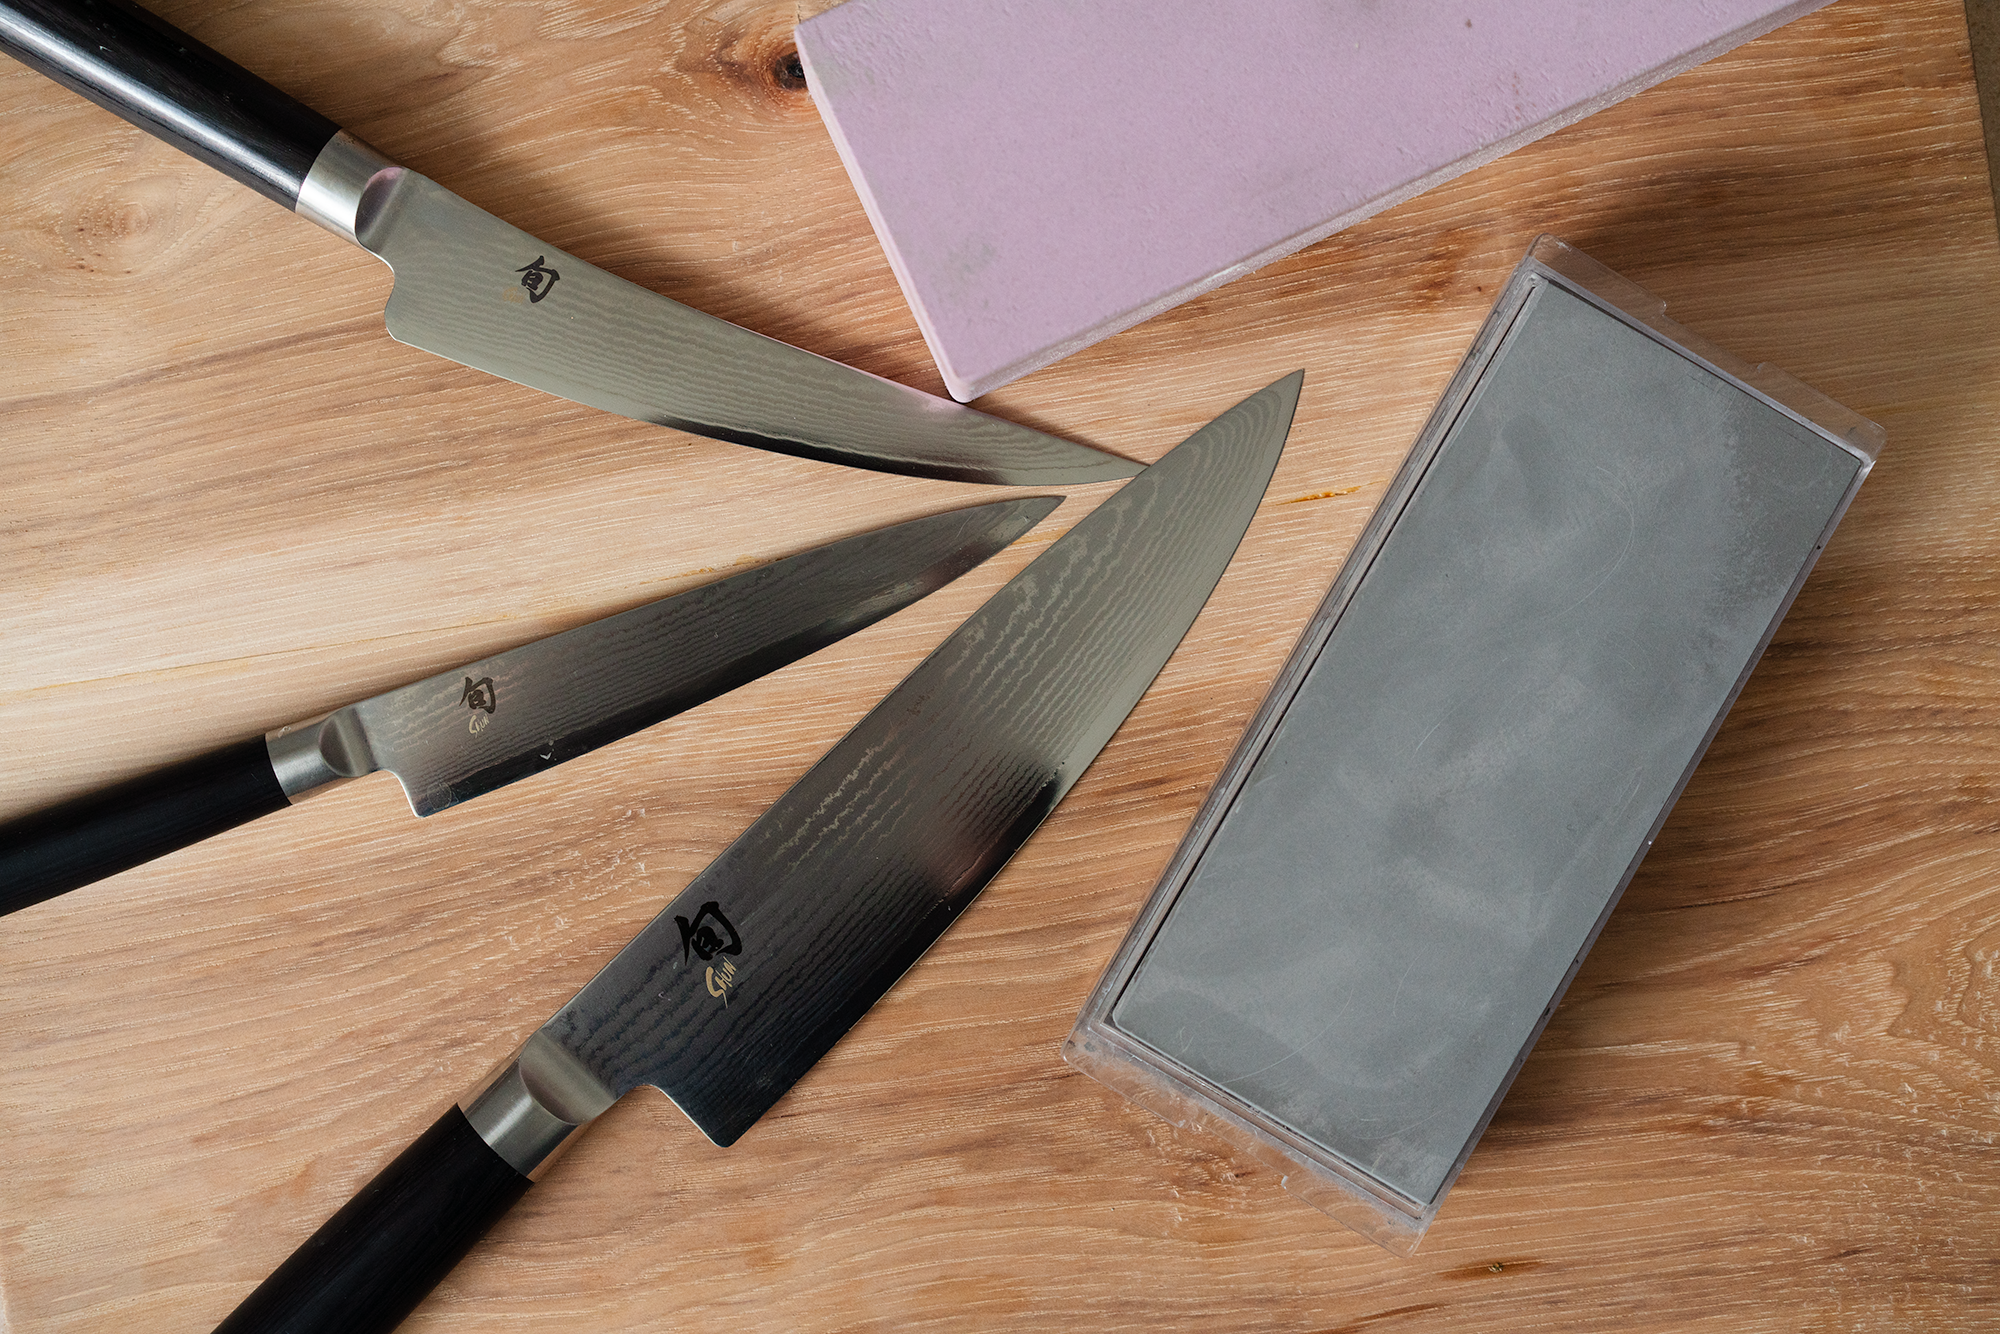
I have a confession to make: for many years — too many years, arguably — I would let my knives slowly dull until the formerly sharp blades couldn’t pierce the skin of a tomato.
For a while, I could still use the knives for their intended purpose. To get things going, I’d just stick the tip of the knife into whatever I was chopping and then pulverize it with the diminished blade. Eventually it was too dull, barely a blade at all, at which point I’d put it back in the drawer and move on to the next knife.
I only learned better after my in-laws treated my partner and me to a knife sharpening course at Knifewear as a wedding present. We showed up with our collection of dull, useless knives and spent the evening sharpening them with whetstones until they could cut tomatoes with barely a touch. It was, if not life changing, at least habit forming.
I know my knife shame isn’t unique. There are a lot of dull knives out there — some, I bet, within a few feet of you right now. Allow me to pay forward the gift that was given to me, and help you rescue those orphaned knives from obsolescence. It’s easier than you might think.
But first, a glossary:
- Whetstone: The brick-shaped stone that you will use to sharpen your knife. If you’re a beginner, try a combination stone (1000/3000 or 1000/4000 grit).
- Grit: Think sandpaper. The grit number refers to the coarseness/fineness of a whetstone. A lower grit number (say, 1,000) will have a coarser finish. A higher grit (say, 4,000) will have a finer finish.
- Knife angle: Your knife angle refers to the angle from the side of your blade to the surface being sharpened.
- Burr: When you sharpen one side of a blade, the metal at the very edge of the blade can fold over to the other side. The small lip that forms is called a burr.
- Leather strop: A piece of firm leather used for knife sharpening.
Instructions for Sharpening Your Knives with a Whetstone
- Get Started. Fill a bowl with water and soak your whetstone for the appropriate amount of time (be sure to consult your manual). While you’re at it, fill your spray bottle with water and make sure it’s handy but not in the way. Then place a wet towel or rubber mat on a stable surface (kitchen counter, for example).
- Setting Up Your Stone. Once the stone is properly soaked, place it on your non-slip surface. You want to start with the coarser grit (1000 if you are using a 1000/3000 stone).
- Finding Your Angle. Most Japanese knives can be sharpened at an angle of about 15 degrees. Most Western knives can be sharpened at about 20 degrees. Looking at the bevel on your knife can help identify the existing bevel. If you’re worried about getting the angle right, you can also invest in an angle guide.
- Handling the knife. Use your dominant hand to hold the knife by the handle and place the fingers from your other hand on the side of the knife just above the blade.
- Strokes. Begin to draw the edge of the blade along the surface of the stone from heel to tip. Try to maintain even pressure and a consistent angle throughout. Once you feel a burr on the opposite side of your blade you can switch sides.
- Wetting your stone. Make sure your stone stays wet throughout the sharpening process. A wet slurry will start to form on the surface of your stone. This is a good thing.
- Changing grits. Once you feel a burr on both sides of your blade, you can move to a finer sharpening stone and repeat the process.
- Finishing Up. Once you are done with your whetstone, you may want to use a leather strop to put a nice finish on your blade. If you aren’t using a strop, simply wipe your knife clean. But remember to be careful, your blade will be razor sharp. You can test your blade by using it to cut a piece of paper (newsprint, if you have it). It should cut it smoothly.
- Whetstone Storage. Make sure to let your whetstone fully dry out before storing it. When put away wet, the stone can mold, crack or break.
Now go enjoy your good-as-new knives! (But watch your fingers.)
Like this content? Get more delivered right to your inbox with Ed. Eats
A list of what’s delicious, delectable and delightful.
